Sowing Tillandsias on a low scale system
- an illustrated manual.
Sowing Tillandsia has been challenge for me for many years. I started around 1975 inside my parents house and still sowing many numbers each year. Most seeds sown are of controlled polination. Not all seeds do germinate or grow well in my suboptimal conditions, that is, a small greenhouse at NWW side of the house causing a lot of shadow, especially in winter when light conditions are not very good in Central Europe.
Over the years I have tried to develop a system that works well for me, for most of the Tillandsia species I sow, which means that I can grow as many species in a similar way and without to much care or work. There are mainly 4 stages in my system: 1. the sowing on green shade cloth; 2. planting (glueing) the small seedlings on nylon insect screen; 3. transferring the plants to bamboo sticks without doing this plant by plant, and 4. mounting the plants on half of a wine corks.
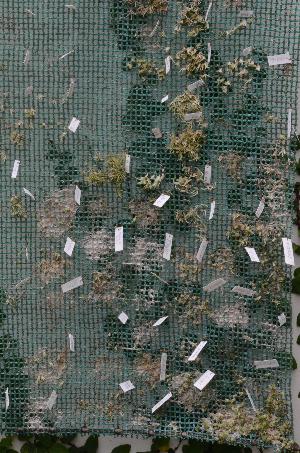
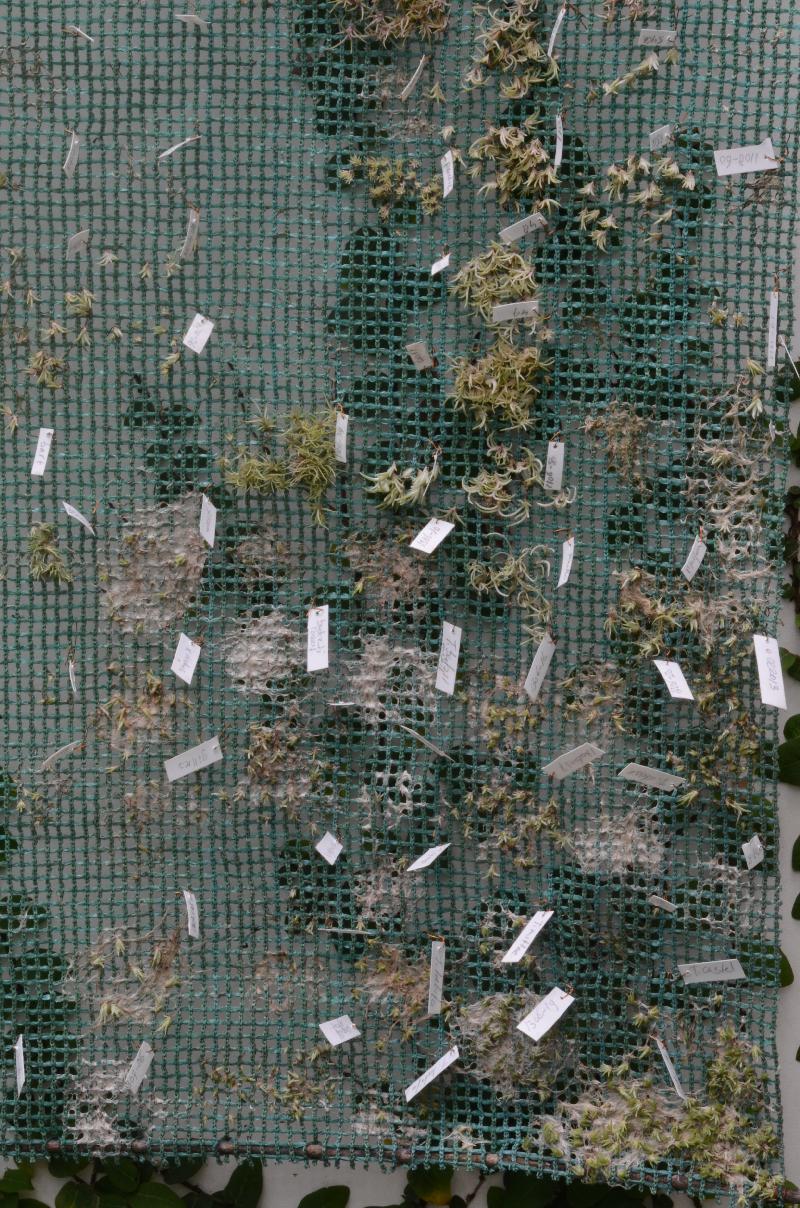
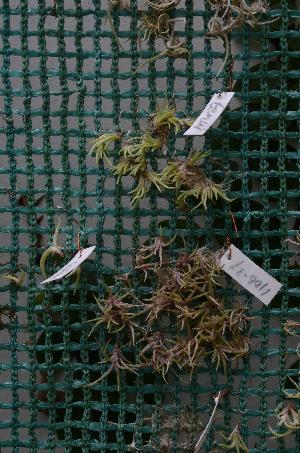
1. Fig.1 gives an overview of a green shade cloth of about 60x40 cm with a bamboo stick on top and bottom of the screen to keep it straight. Two iron wire hooks on the top stick makes it possible to hang the screen to a wire or under each other. The samples on one screen can be of different years and little labels are always mounted to the mesh in upper right corner of the sample with a thin insulated copper wire.

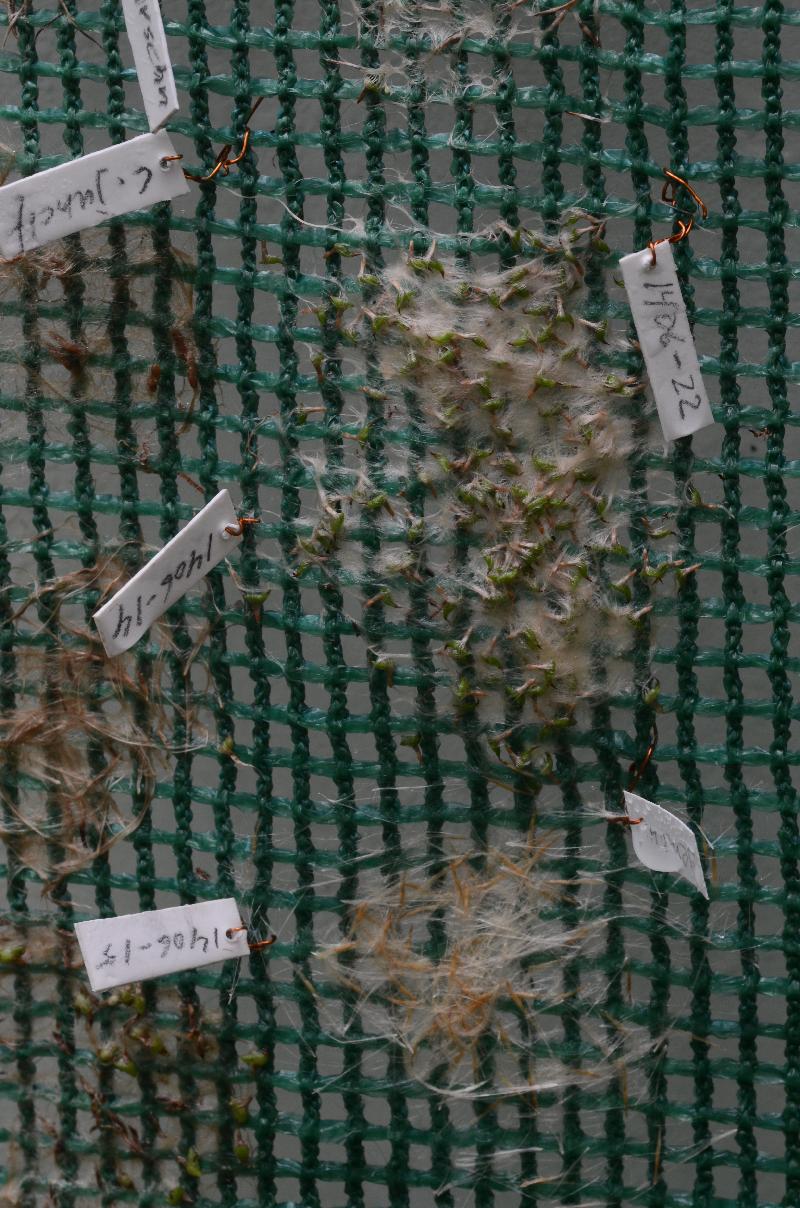
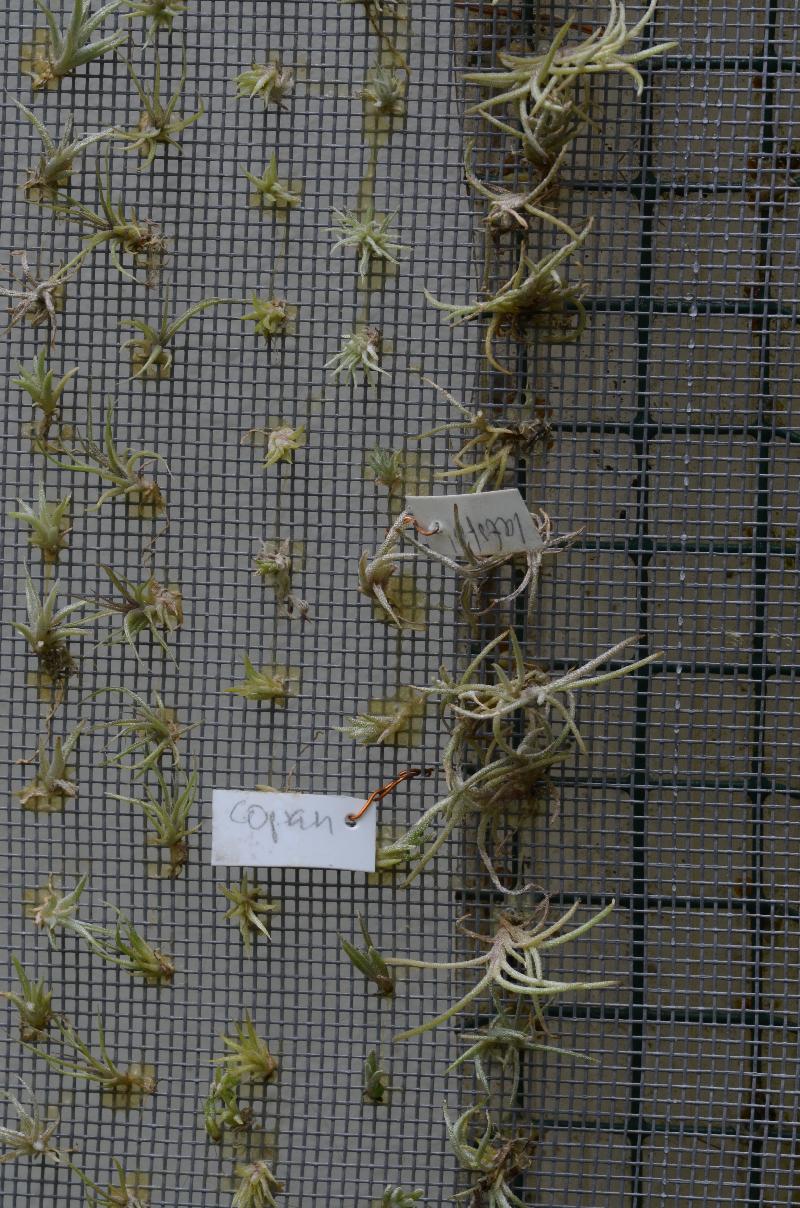
2. Fig. 2 shows a detail of the screen of two samples, the upper 1 month old, showing germination and the lower sample just sown. About 25-50 seeds are spread to a patch and sprayed with rain water on a screen (horizontal on a table). The hairs of the seeds will attach to the screen and after spraying a few times, they will not come of any more. I keep it horizontal for a few days, spraying regularly. Then it will be hanging upright and sprayed a few times a week, diminishing to one time a week.
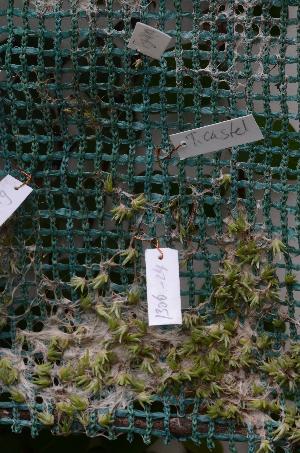
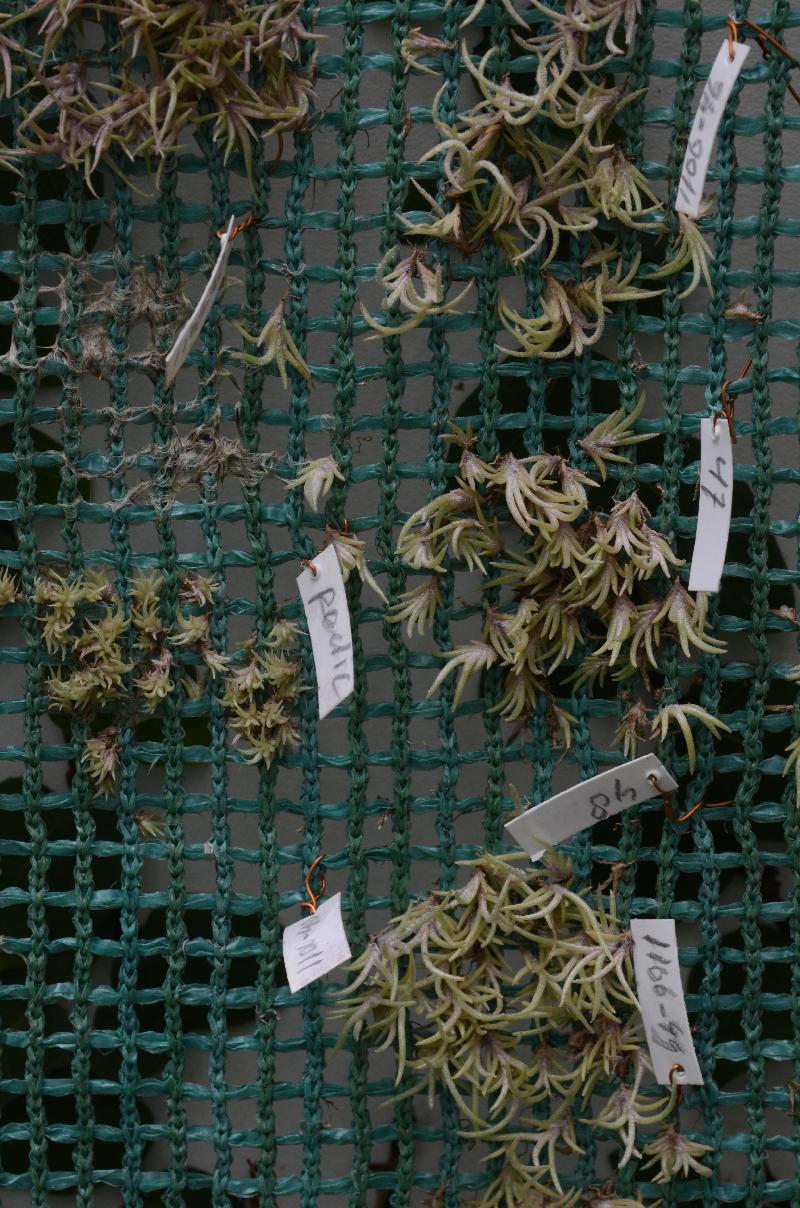
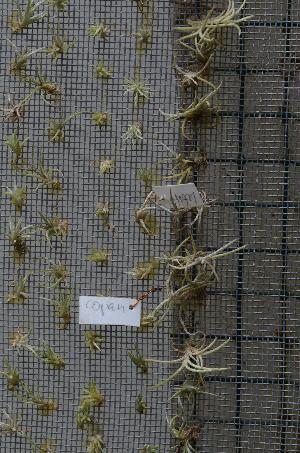
3. About one year later you can expect to see little seedlings like in fig. 3, but not all species do grow that fast and most of them will be less developed. You can see part of the administration on the little plastic label (cut from a larger one). The number consists of yymm-xx, where we have a two digit year, two digit month and two digit sequence number, in this case 1306-24 (nr. 24 sown June 2013). On the other side we have the abbreviation of the name. All other information is in the sowing book.
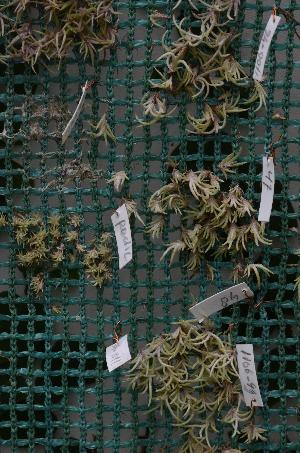
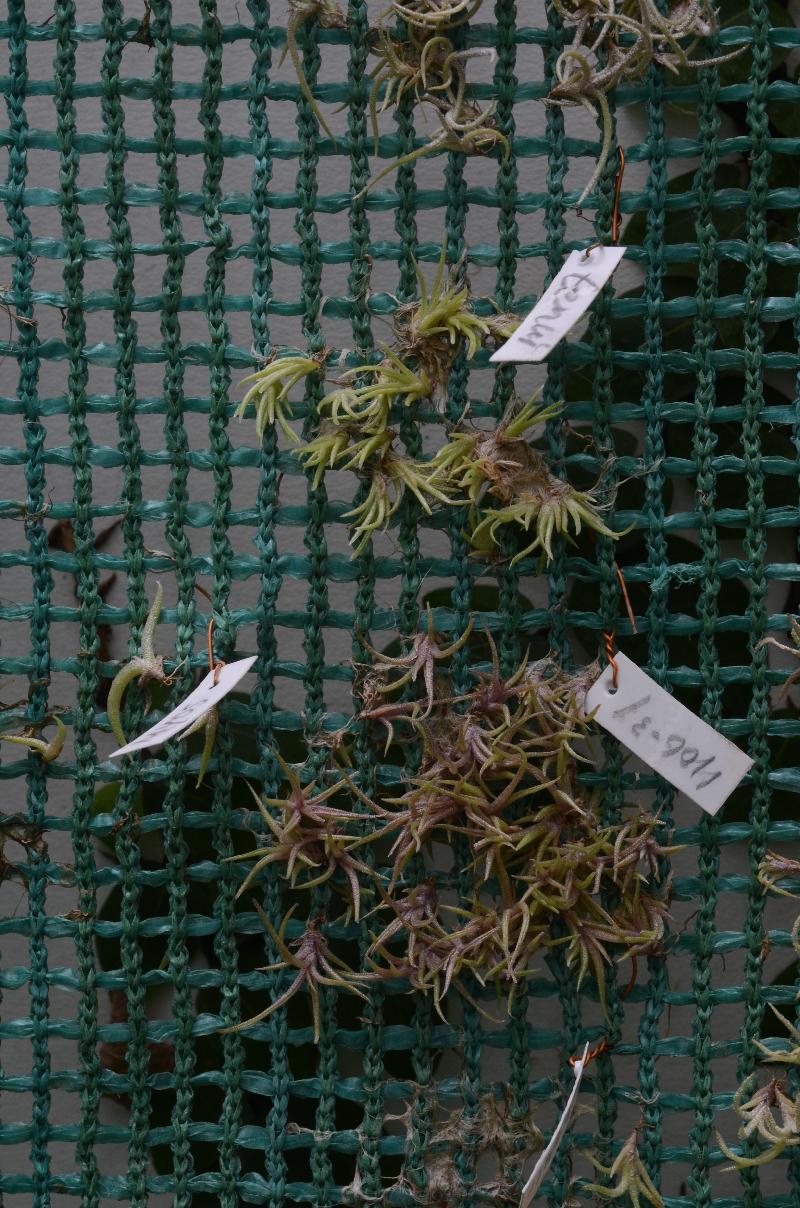
4. After some time the little seedlings will become overcrowded, with the chance to stay wet too long, killing the plantlets especially in winter. Fig. 4 and 5 are showing some patches of seedlings of about 3 years that starts to be overcrowded, but can stay on the mesh for at least another year. Mostly I like the seedlings to be a little bit larger before transferring them to stage 2. All plantlets of a cluster will be transferred at once. If there are plantlets too small to be transferred, those are placed in a pot with treefern.
5. Overcrowding is not the only problem, because the plantlets are forming roots fixing to the mesh and it will be more difficult to remove them from the mesh if too long on it. Normally they will come off quite easily, using your finger nails, but some of them will break lose from their roots and need some other care (put in a pot with tree fern) before they can be glued. After separating and cleaning the seedlings (cutting the roots to aprox. 3 mm with a nail scissors), they can be glued 1 cm apart on the insect screen of stage 2.
6. I use a contact glue called Bison kit (goop?), that is easy to make little droplets on the crossings of the plasticized iron chicken mesh (see fig.7) underneath the screen (normally horizontal on a table). You must work on to finish a line in a short time (few minutes), because otherwise you can not get the screen loose from the iron mesh any more. Next line is also 1 cm apart, but lowed half a cm to get the plantlets being alternating, giving them some more space (adjusting on the neighboring iron wire thread).
7. Also the labels are transferred of course and fig.7 shows this in more detail. The best is to use a not to hard pencil (HB). This does not fade over the many years because of the carbon. It is better not to use thin plastic labels, because this will become brittle and easily break off after 10 years or more. You can see the little dried glue droplets and the alternating plantlets fixed with it to the mesh. If there were firm roots, I try to push these through the holes in the screen into the glue.

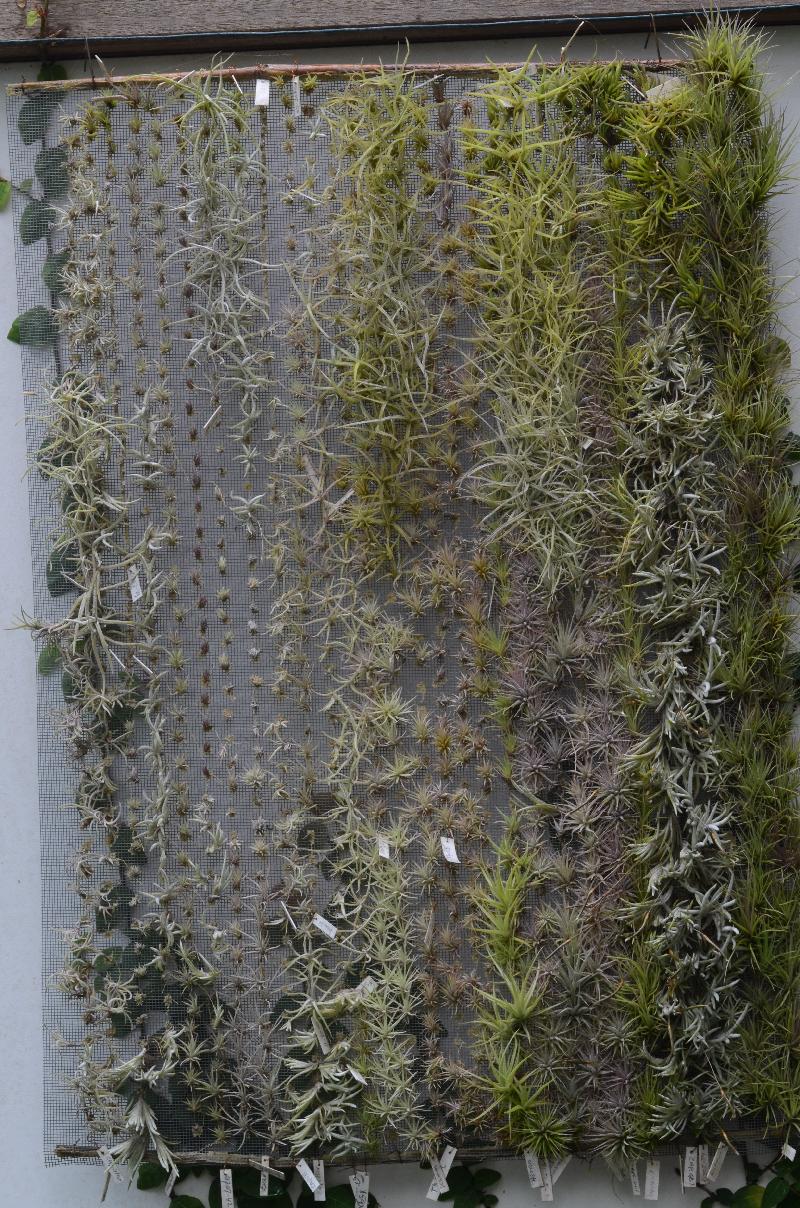
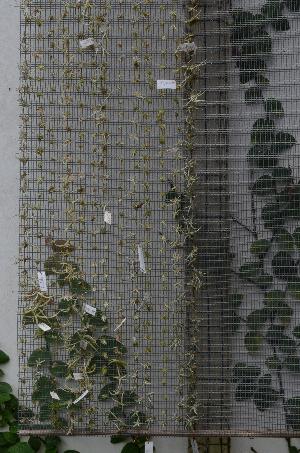
8. Normally it will take some time before a screen is fully loaded, that is why the plants on the right, were I started, are larger than on the left, see fig.8. A second stage screen is more or less similar to former one, the size and bamboo sticks, except the mesh material. I do not like the insect wire mesh for sowing, because it stays wet longer and algae are growing much easier on it, having a bad influence on the germination. The second stage screens will be kept drier than the sowing screens and are much easier for gluing the plantlets.

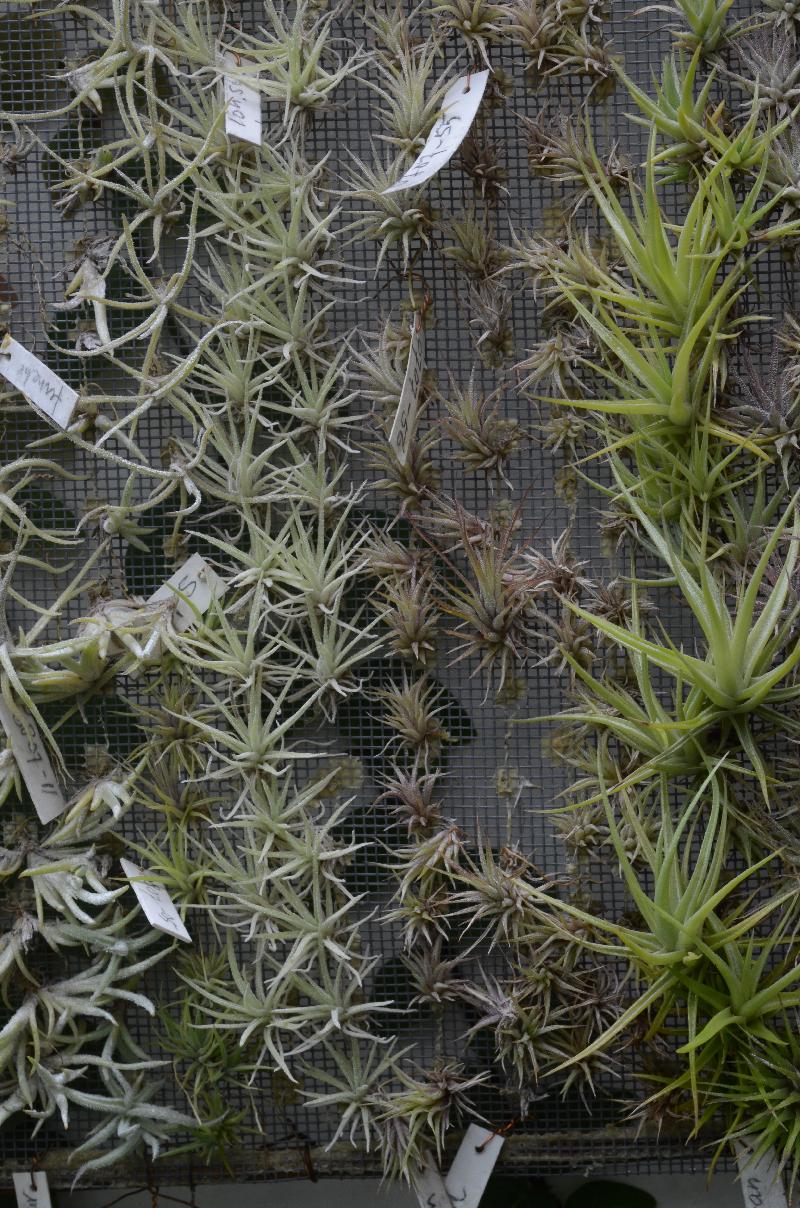
9. Fig. 9 shows a close up of the screen with the different plant sizes. Also the differences between species becomes more clear in coloration and form. Not all plantlets are of the same age, but the ones in the center are about 7 years old. Under optimal conditions and with fertilizers, it could be many times larger I suppose, but that is not the way I grow them. It will not take to long before the little plants on the screen, especially on the right side, will become to crowded and need to have more space.
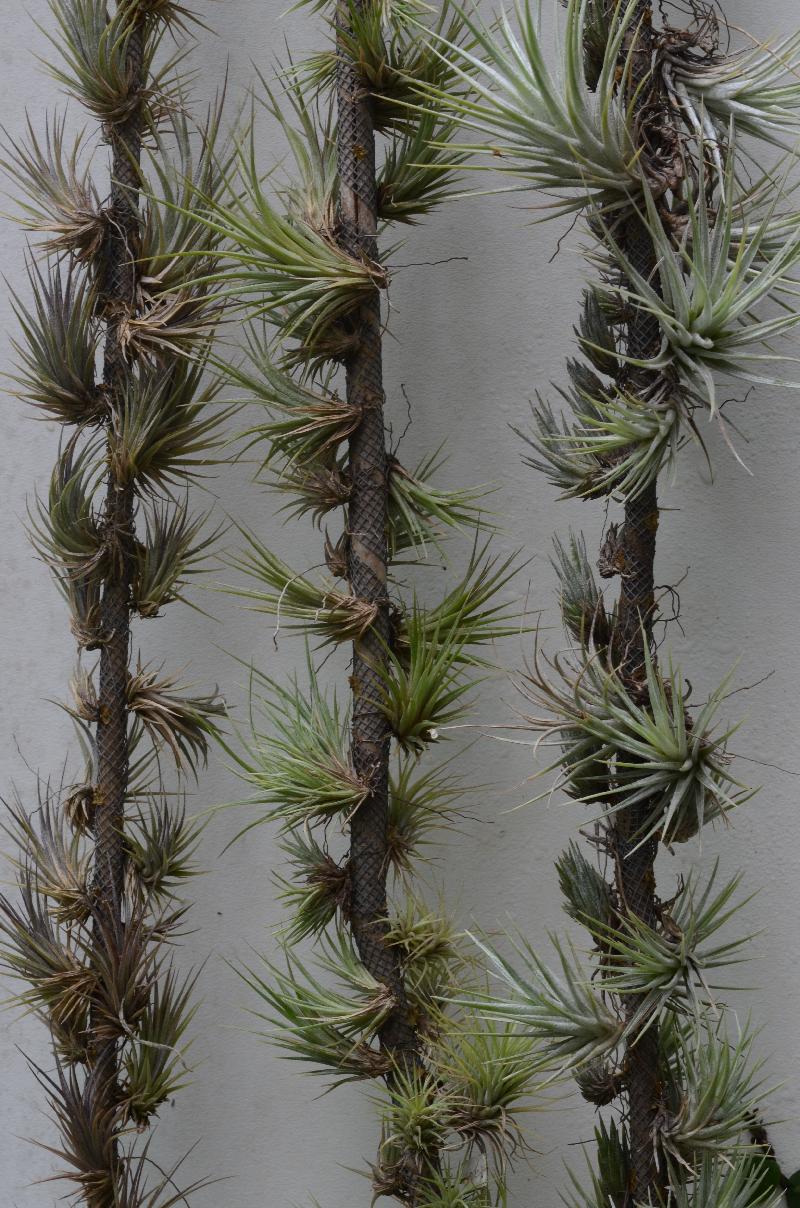
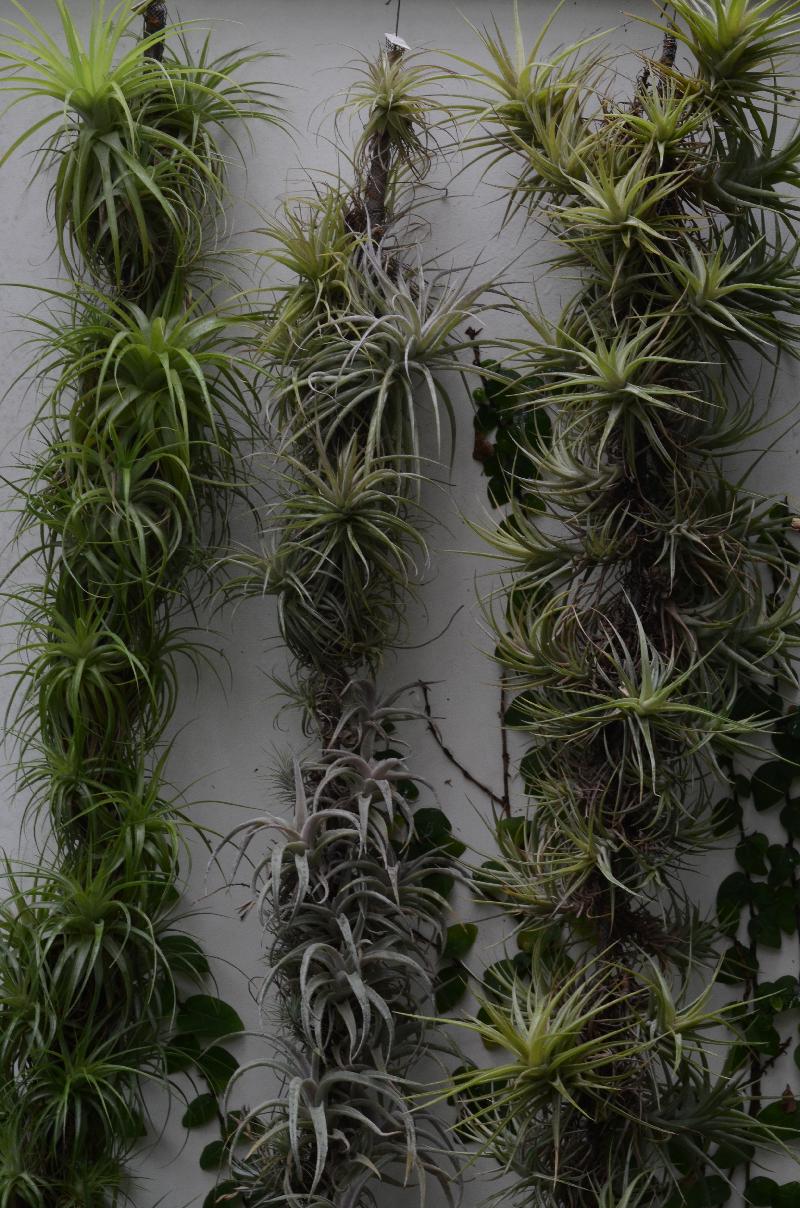
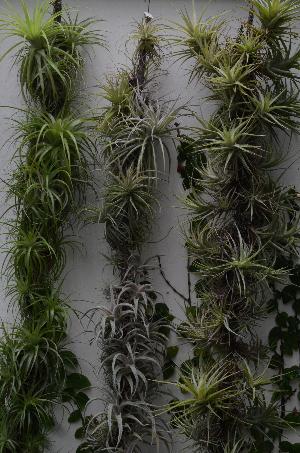
10. That is were they will be transferred to stage 3, the bamboo sticks, see fig.10. The screen will be cut in longitudinal strips, leaving one end connected (cutting up nearly to the end leaving 5 mm connected and then the next row down nearly to the end etc.) to have one long strip. The uncut part may not be too long, otherwise you can not fold it into one direction. The bamboo sticks get a iron wire hook at the top and a small iron wire eye at the base, so that they can be hung in sequence below each other.

11. This (fig. 11) are three of those newly done sticks at which you can see that the plantlets did not yet turned them selves in the right direction. It will take some time before the plantlets has turned up all in one direction again and most of them are a little bit sideways or even upside down, clearly seen in fig. 11. The glue has done its work and the little plants has grown many roots through the mesh, that helps them to be fixed when turning around the bamboo stick.
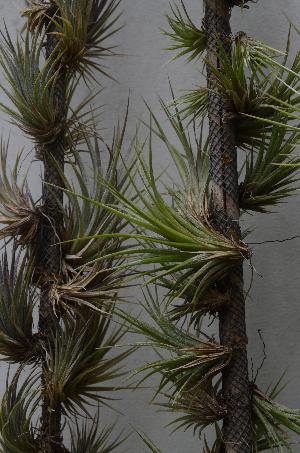
12. Even these thin bamboo sticks are under my conditions strong enough to support those plants for years to come. In fig. 12 you can see how tightly the strip of mesh is bound around the stick, nearly leaving no surface of the stick uncovered. Still the plantlets get much more space with this transfer. The roots will bent sideways and get tightly stuck between the mesh and stick. Some of the plants can come lose in the process, but by pushing them back on the right moment of twisting, they get firmly mounted.
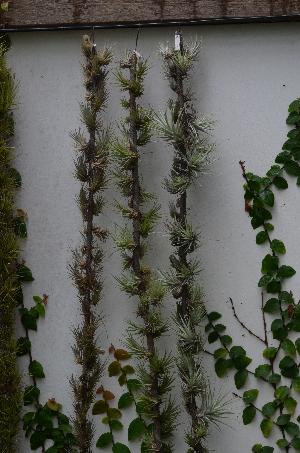
13. I start winding the strip from top to bottom, starting to push the iron wire hook through the top of the strip, fixing it an easy way. Then winding down to the bottom and fiximg it there with thin flexible insulated copper wire (windings from an electo-motor). Mostly I support the fixation with some of the same glue at the top and base and some places in between. Fig.13 show three much older sicks with plants that are ready to be transfered to the last stage of the system, individually mounted on half a wine cork.

14. Of course you need a reason to drink wine and herewith you've got one. The problem nowadays is that only expensive wines still have those natural wine corks, but I have gathered enough to continue for years. The corks will be split in two, using plant clippers. Then a iron wire hook is fixed at one end, so that it can be hung on a 5 cm maze rack of plasticized iron. Fig. 14 and 15 shows two parts of a rack loaded with the so called cork-plants. The cork will be roughened with a rasp at the place the plant needs to be mounted.
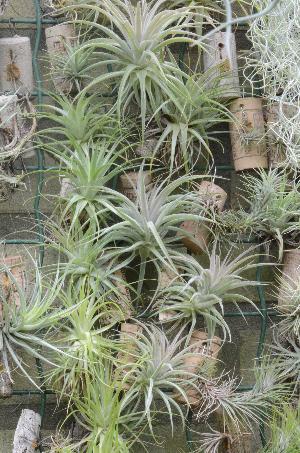
15. I use a similar glue as in stage 2, but this time a less fluid one, called Bison Tix Gel. It is a contact glue, which means the glue has to dry half before it can be fixed tightly. Push the plant into a little bit of the glue and put it aside for 5-10 minutes before hardly pressing it on the cork in the right position. Be sure the plant is cleaned, dry and roots are short, otherwise it can push the plant off. Some of the plants easily grow roots and fix them selves soon, but others will take some time, but the glue is strong enough to keep the plant in place for several years.